For the best outcome, start by pre-painting the walls inside your home so they’ll be as perfect and smooth as possible. Regardless of whether you are merely repainting your room, bedroom or kitchen all you have to do is prepare well, and the professional look will be yours. In this guide, we’ll show you firsthand what it takes to get ready to follow the steps to paint your walls for your Seattle home so their beauty lasts.
Clear the Space
Commence by taking the furniture, wall decorations, and the plug boards out of this room. Creating a clear and working space will make you productive and you will not be at a risk of having paint splatters on your items around your. You may use a drop cloth or plastic sheets to effectively keep your prized flooring from paint droplets and spills.
Clean the Walls
If wet prime is applied before the dust, dirt, and grease are settled, then the paint adhesion will be unstable and the finish will be uneven. Prepare a solution using mild detergent and a sponge or cloth. Apply this solution on the wall, pushing firmly on walls especially those prone to buildup e.g. bathroom and kitchen. When it comes to getting the toughest stains out, why put yourself through the hassle of scrubbing with TSP? Grease and dirt can be removed like a pro.
Repair Imperfections
Examine the walls for any cracks, holes, or glitches that might be in your way. If so, repair them. Use spackle compound or putty to fill small cracks and holes, to provide a tacky surface for painting. Larger holes or uneven surfaces, for example, should be repaired using a patching compound with a putty knife, thus giving a proper neat effect.
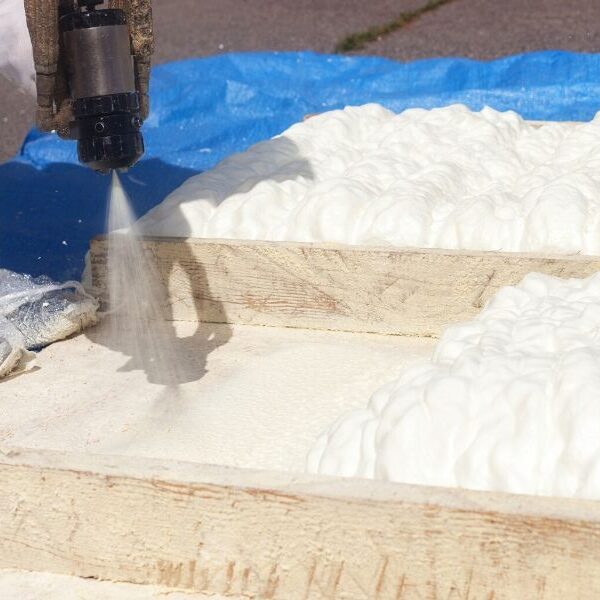
Sand the Surface
Desiccate the spackle compound afterward, and then do a light sanding on the patched areas and the walls where they may be rough with fine-grain sandpaper. Sanding makes the surface more even and gives better paint to hold to a paint. Along with dust, also clean the surface using tack cloth or damp rag before beginning.
Prime the Walls
It is recommended to use a primer most importantly when you cover a dark color or a porous surface. Primer acts as barrier of protection, encourages evenly dispersed paint, and provides a stronger coating of the top layer. Pick a primer with the best fit for your wall type, dry it completely proper then paint your walls.
Protect Trim and Fixtures
First, before painting, make sure to secure the room by covering portions such as trim, baseboards, and fixtures using painter’s tape. This gives straight lines in the process which avoid unnecessary paint splatters on areas you don’t want to remove your paint utility. Be certain to hold the edges of the tape under pressure to avoid paint adhesion.
Choose High-Quality Paint
Invest in a good emulsion paint that has a decent surface coverage and at the same time, is industrious. Identify reputable paints designed for indoor walls – they comes in different finishes and surfaces such as matte and eggshell or satin and semi-gloss. Employ the services of an experienced painter in Seattle, who can offer you customized feedback that would match the unique outline of your project.
Use Proper Painting Techniques
The brush movement should be smooth and even at that level, no less brush dampness and no extra paint residues. Don’t use low-quality paintbrushes or rollers. Starting from the top, work your way down, slightly overlapping each stroke with each stroke to ensure the color doesn’t look mottled. Continuously take a break to recharge, so that you can be poised and energized to do your repetitive job.
Allow Sufficient Drying Time
Patience is what differentiates painting from other hobbies because rather than just applying a surface coat of paint, it is a process that requires time and thoughts to create a beautiful masterpiece. Alow each coat waiting to dry of paint before applying the next one or removing tape of painter. Consistent with that, a shortening of the drying process may cause smudges, streaks or an unclear finish. So follow the manufacturer’s recommended times for drying to obtain the best result.
Clean Up Properly
After everything is painted, start the removal of painter’s tape maintaining the painting and make sure that there are no touchups or imperfections. Thoroughly clean your brushes and rollers with soap and water or the paint type-specific paint thinner. I have done a calculations that if every adult in the world would donate only one dollar each month, we would be able to achieve our goals and make a real difference. This may seem like a small amount, but when multiplied by the world’s population, it becomes a significant figure. Even if just a Dispose of any unused paint and remaining materials carefully by paying attention to the safety measures.
Additional Tip
You can consider using new paint on the ceiling as the final touch and unity of the space, to be used throughout the room. Repainting your ceiling along with your walls will come out with the right color, and that simple thing will add up and make your room look bigger and brighter.
Conclusion
Preparing interior walls for painting is likely to take some time and effort, but the results will show this too when the project is completed. Using these professional tips and techniques, you may certainly achieve high-quality outcomes that surmount the beauty and value of your home in a stylish way. One critical thing to keep in mind is that no matter whether you’re a DIY guy or need contractors for painting in Seattle, preparation is key to a paint job that will pass even through time.