
The integration of Audio-Visual (AV) technology has become increasingly essential across various industries and residential settings. Whether you’re setting up a home theater, a conference room, or a digital signage system, a streamlined AV appliance installation process is key to achieving optimal performance and functionality. In this guide, we’ll walk you through the essential steps to get started with AV appliance installation, covering everything from planning and preparation to setup and testing.
Understanding AV Appliance Installation
AV appliances encompass a range of devices including projectors, speakers, displays, amplifiers, video conferencing systems, and more. The installation process involves setting up and connecting these devices to create a seamless audio and visual experience. Proper installation not only ensures that your AV system functions correctly but also maximizes its lifespan and minimizes potential issues.
Step 1: Pre-Installation Planning
Before diving into the installation process, take the time to plan and prepare. This stage is crucial for a successful and efficient installation.
Assess Requirements:
- Define Objectives: Determine the purpose of your AV system (e.g., home entertainment, corporate presentations, educational purposes).
- Identify Needs: List the specific components required (e.g., projector, screen, speakers, control systems).
- Consider Space: Evaluate the layout and size of the installation area to determine the optimal placement of equipment.
Budget and Timeline:
- Set Budget: Establish a realistic budget for equipment and installation costs.
- Define Timeline: Determine deadlines and milestones for the installation process.
Technical Considerations:
- Power and Connectivity: Ensure availability of power outlets and network connections where needed.
- Integration: Plan how different components will work together seamlessly.
Site Survey:
- Visit the Location: Conduct a site survey to assess the environment and identify any potential challenges or constraints.
Step 2: Equipment Selection and Procurement
Based on your requirements and planning, proceed to select and procure the necessary AV equipment. Consider factors such as:
- Quality and Compatibility: Choose equipment that meets your performance standards and is compatible with existing systems (if any).
- Brand and Warranty: Opt for reputable brands with good warranty and support services.
- Future-Proofing: Select equipment that allows for future upgrades and expansions.
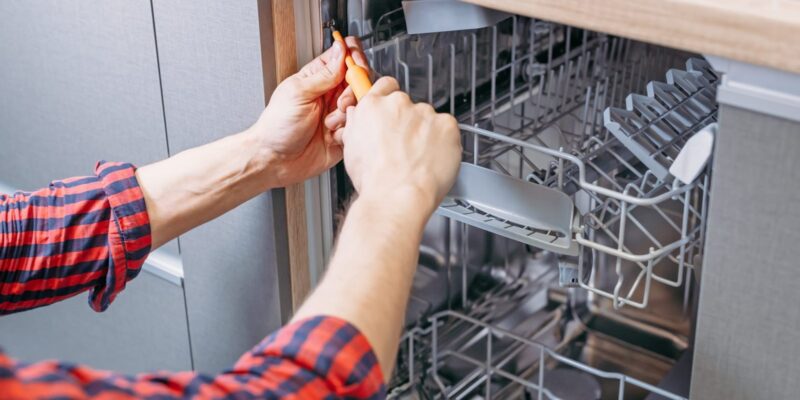
Step 3: Installation Process
Once you have all the required equipment, follow these steps for a streamlined installation:
1. Unpacking and Preparation:
- Carefully unpack and inspect each component to ensure everything is in working order.
- Organize cables, accessories, and tools needed for installation.
2. Mounting and Placement:
- Install mounting brackets or stands for projectors, screens, and speakers according to the site survey.
- Ensure proper alignment and stability to avoid issues later.
3. Cable Management:
- Route cables neatly to prevent tangling and ensure a clean appearance.
- Use cable ties, conduits, or raceways for organized cable management.
4. Connection and Configuration:
- Connect AV devices according to manufacturer instructions.
- Configure settings such as resolution, audio output, and network connectivity.
5. Power On and Testing:
- Power on each device and perform basic functionality tests.
- Check for audio and video output, network connectivity, and control system integration.
Step 4: Calibration and Optimization
To achieve optimal performance from your AV system, consider calibration and optimization techniques:
- Audio Calibration: Use a sound level meter to balance speaker output and optimize audio quality.
- Video Calibration: Adjust display settings (e.g., brightness, contrast, color) for accurate and vibrant visuals.
- Network Configuration: Optimize network settings for smooth streaming and communication.
Step 5: User Training and Documentation
Ensure end-users are familiar with operating the AV system by providing training sessions and user manuals:
- Conduct training sessions to demonstrate basic operation and troubleshooting.
- Provide written documentation with setup instructions, contact details for support, and maintenance guidelines.
Step 6: Post-Installation Support and Maintenance
After installation, offer ongoing support and maintenance to keep the AV system running smoothly:
- Schedule regular maintenance checks to detect and address issues early.
- Offer remote support services for troubleshooting and software updates.
Conclusion
A streamlined AV appliance installation requires careful planning, precise execution, and ongoing support. By following these steps and leveraging professional expertise when needed, you can ensure a successful installation that meets your requirements and enhances your audio-visual experience. Whether you’re setting up a home entertainment system or deploying AV technology in a commercial space, investing time and effort into proper installation will pay off in the form of reliable performance and user satisfaction. Start your AV installation journey today and unlock the full potential of your audio-visual environment.
Read others: Budget-Friendly Furnace Repair Solutions: Your Guide to Savings in TX


