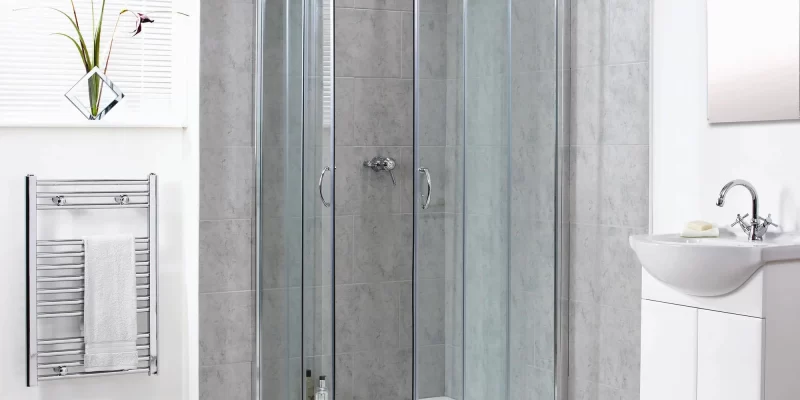
Taking a shower without splashing the bathroom is entirely possible, provided you equip the shower with a curtain or walls. More aesthetic and durable than a curtain, shower screens are generally quite easy to install, so why deprive yourself of this solution? There are several types of walls, but here we will focus on the corner versions. Discover step-by-step how to install a corner shower screen .
First step: measure the dimensions of the receiver
With your tray already installed in the bathroom, measure the two distances that separate the exterior corner of it from the adjacent walls. Also make sure that the ceiling height will allow you to install a shower screen.
From these dimensions, determine the passage width you wish to provide to access your shower (we recommend a minimum space of 70 centimeters between the two sliding doors ). You can then choose the wall-door assembly before proceeding with its installation.
Second step: install the compensation profiles
In the kit you have purchased, there are fixed walls (glass or plastic), sliding doors (ditto), aluminum profiles, and a set of screws. Consult the installation instructions for your corner shower screen before starting work.
By carrying out a blank assembly, position each profile on each of the two walls, at the edge of the shower tray. Using a spirit level, level them perfectly. As the profiles are pre-drilled, mark the location of these holes on the bathroom partitions, using a felt-tip pen for example.
Remove the profiles and apply pieces of adhesive to the marks. This will prevent the earthenware from cracking when drilling each wall.
After removing the percussion mode of the drill equipped with a drill bit adapted to the nature of the wall and capable of passing through the tiles (proceed in two steps if necessary), drill the walls in the planned locations. Then remove the pieces of adhesive.
Using a rubber mallet or hammer, drive dowels suitable for the type of wall partition into the previously drilled holes.
Apply a bead of silicone sealant to the back of the profiles, over their entire height. Place the profiles in place along the shower walls. Secure them with screws compatible with the dowels installed just before.
Third step: installation of fixed and sliding shower walls
Push each fixed wall-sliding wall assembly into a previously installed aluminum profile, taking care to place the anti-limescale treated side towards the inside of the shower (look for the logo affixed to the glass for this purpose; the screen-printed side is therefore located towards the outside).
Once the verticality has been verified, adjust it using the adjustment screws of the compensation profiles.
If necessary, adjust the opening width of the sliding shower walls as indicated in the wall assembly instructions.
Step four: waterproof the shower
Make a silicone seal at the corner of the receiver, where the two lower rails of the sliding walls meet. The bead of putty should be stretched to the wall.
Install the bottom corner unit using the supplied mounting screws, then install the cover. Repeat the operation with the upper part of the walls.
Fifth step: finalize the assembly of the shower screen
After checking the verticality of all the elements one last time with a spirit level – adjust it if necessary – finalize the installation of the shower screen using the retaining screws provided. Cover them with the covers provided for this purpose.
Maintenance of a shower screen
Although the shower screens are treated with anti-limescale treatment at the factory, if you live in an area with high water hardness and your home is not equipped with a softener, they may become covered with scales over time.
Make it easier to maintain the shower walls by squeezing the glass or plastic windows and the tiles after each shower, to remove residual water.
Finally
be careful not to use an abrasive product on the side of the shower screen that is screen-printed, as this could damage the patterns.
Wait at least 24 hours before using your new shower space, so that the silicone is completely dry. You will need to redo the silicone seals every two years to ensure the shower is completely watertight and to remain covered by your insurance in the event of water damage from the bathroom.