Changing your car’s oil yourself can be a rewarding and cost-saving experience. Valvoline offers a wide range of motor oils and oil change essentials to make the process smooth. Here’s a detailed guide to performing a DIY oil change with Valvoline products, complete with safety precautions and tips for a mess-free experience.
Safety First: Gather Your Supplies and Prepare Your Workspace
- Safety Essentials: Before you begin, prioritize safety. Wear gloves, safety glasses, and closed-toe shoes. Have rags on hand to clean up spills.
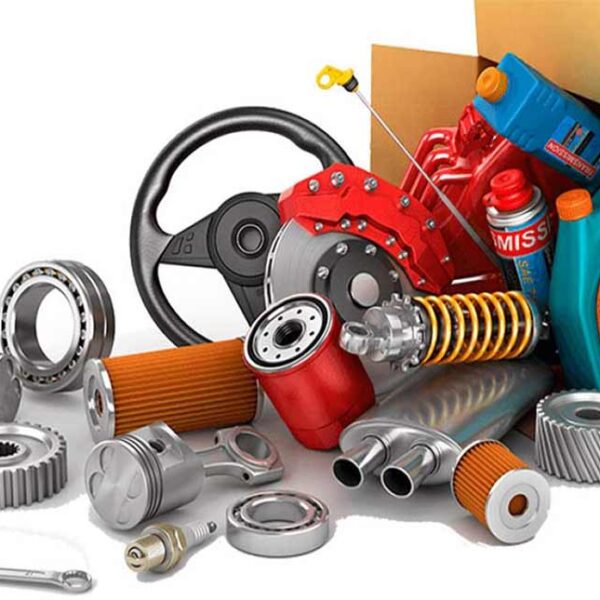
- Valvoline Products: Select the appropriate Valvoline motor oil for your car’s engine using the Valvoline oil finder tool. You’ll also need a new oil filter compatible with your vehicle and a drain pan to catch the used oil.
- Tools: Assemble the necessary tools: wrenches (to fit your drain plug and oil filter), a socket wrench (optional), a funnel, and an oil filter wrench (if your filter is difficult to remove by hand).
Getting Started: Draining the Used Oil
- Warm Up the Engine: Run the engine for 5-10 minutes to warm up the oil, making it drain more easily. Turn off the engine and ensure the car is parked on a level surface.
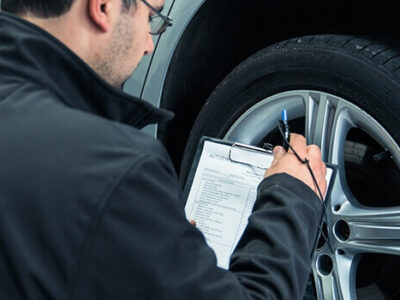
- Locate the Drain Plug: Consult your car’s owner’s manual to locate the oil drain plug. Place the drain pan directly underneath the plug.
- Loosen the Drain Plug: Carefully loosen the drain plug with the appropriate wrench. Be prepared for oil to flow out quickly. It’s helpful to have someone assist you by holding the drain pan securely.
- Let the Oil Drain Completely: Allow all the used oil to drain into the pan. This may take 10-15 minutes. While waiting, replace the drain plug with a new washer (if applicable) and tighten it snugly with the wrench.
Changing the Oil Filter
- Locate the Oil Filter: Refer to your owner’s manual to find the oil filter’s location. It’s typically near the engine block.
- Loosen the Oil Filter: Using the oil filter wrench or your hand (if possible), carefully loosen the filter counter-clockwise. Oil may drain out, so tilt the filter slightly to avoid spillage.
- Remove the Old Filter: Once loose, remove the old filter completely. Place it upright in the drain pan to allow any remaining oil to drain out.
- Apply Oil to the New Filter: Lightly coat the rubber gasket of the new filter with fresh oil from the new oil container.
Adding Fresh Oil and Finishing Up
- Install the New Filter: Screw on the new oil filter by hand until snug. Avoid over-tightening.
- Refill the Engine with Oil: Using the funnel, carefully pour the new Valvoline oil into the engine’s oil fill port. Refer to your car’s owner’s manual for the exact oil capacity.
- Check the Oil Level: With the engine off, use the dipstick to check the oil level. Add oil in small quantities until it reaches the “full” mark on the dipstick. Don’t overfill.
- Start the Engine and Check for Leaks: Start the engine and let it idle for a few minutes. Look underneath the car for any leaks around the drain plug or oil filter. If you see leaks, turn off the engine immediately and address the issue.
- Dispose of Used Oil Responsibly: Don’t throw used oil in the trash! Take it to a local recycling center or auto parts store for proper disposal. Valvoline offers oil recycling programs at some locations; check their website for details https://www.skipthebill.com/at/valvoline.com.
Tips for a Successful DIY Oil Change:
- Choose the Right Oil: Using the wrong oil viscosity can harm your engine. Double-check your car’s owner’s manual or use the Valvoline oil finder tool for the recommended oil type.
- Work in a Well-Lit Area: Good lighting helps you see what you’re doing and avoid mistakes.
- Contain the Mess: Use a large enough drain pan to catch all the used oil. Place cardboard or newspaper under the engine to catch any drips.
- Clean Up Spills Immediately: Clean up any oil spills with rags to prevent them from staining your driveway.
- Keep Records: Maintain a record of your oil changes.
In conclusion, performing a DIY oil change with Valvoline products can be a cost-effective way to maintain your car. By following these steps carefully, prioritizing safety, and utilizing the provided tips, you can ensure a smooth and mess-free experience. Remember, refer to your car’s owner’s manual for specific details and consult a professional mechanic if you have any doubts or encounter difficulties. Happy wrenching!